Posts

Instant Makgeolli? Hwajoodang Makgeolli Pack
Image
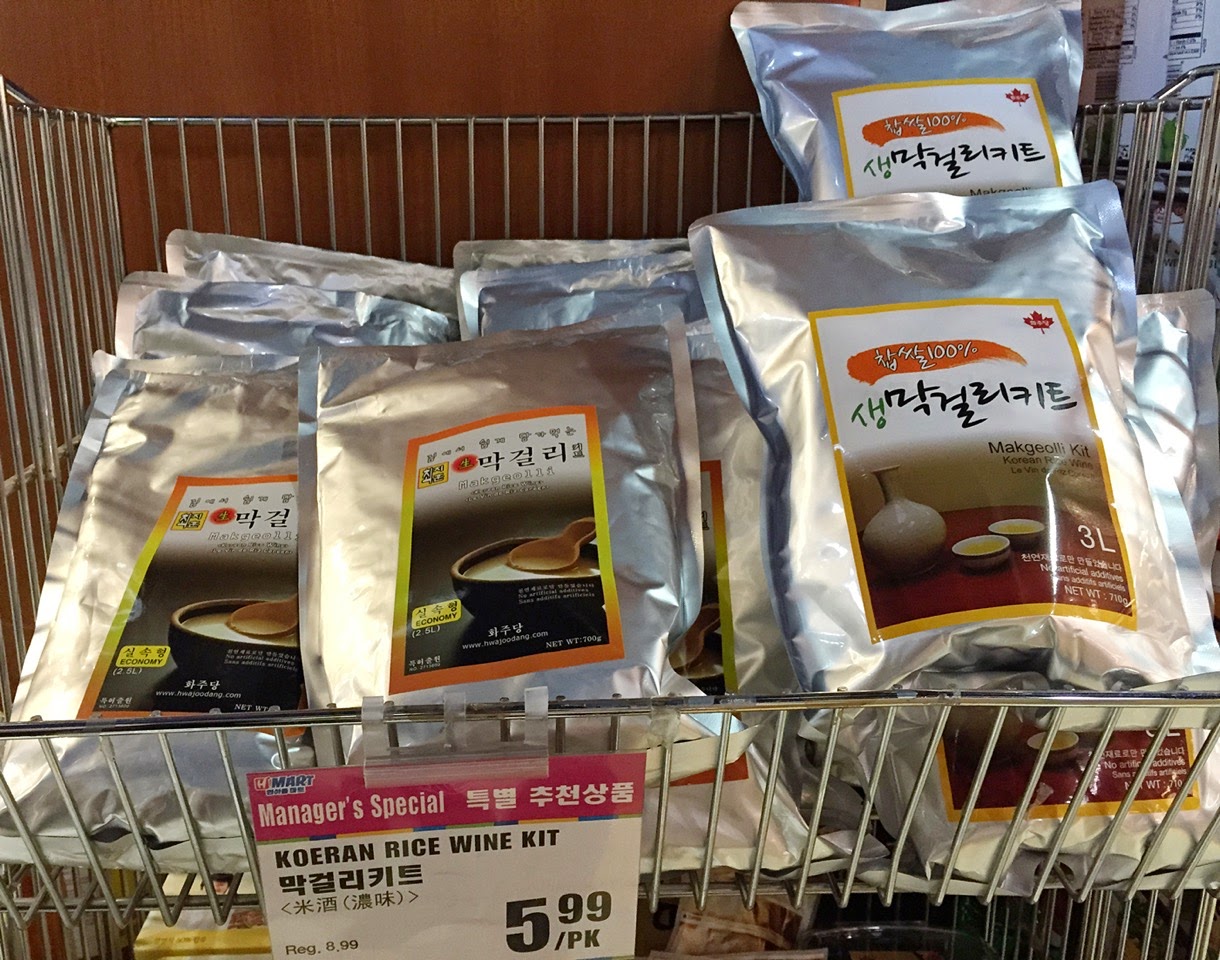
Claire from YVR has brought to my attention an interesting product from across the northern border. Hwajoodang's Makgeolli Pack ! Claire had posted previously about her makgeolli experience on her blog here . Judging from her post, she had the opportunity to try some unique, high-quality makgeolli. At the end of her post she resolves to make her own batch of home brewed makgeolli, which led her to the package pictured above, and below.  I won't steal her thunder by posting pictures of her brew in the works. Please check out her blog and watch for her makgeolli post in the near future.  On to the pack... The makgeolli pack is a prepackaged kit of all the ingredients needed to make makgeolli. The website doesn't have too much info on the product, such as ingredients or how much of each ingredient is in the pouch, but they do publish a how-to here . Thanks to Claire's contribution, we also have the above picture of the directions from the back of the pac...
Using a Yongsu (용수) for the First Time

Image
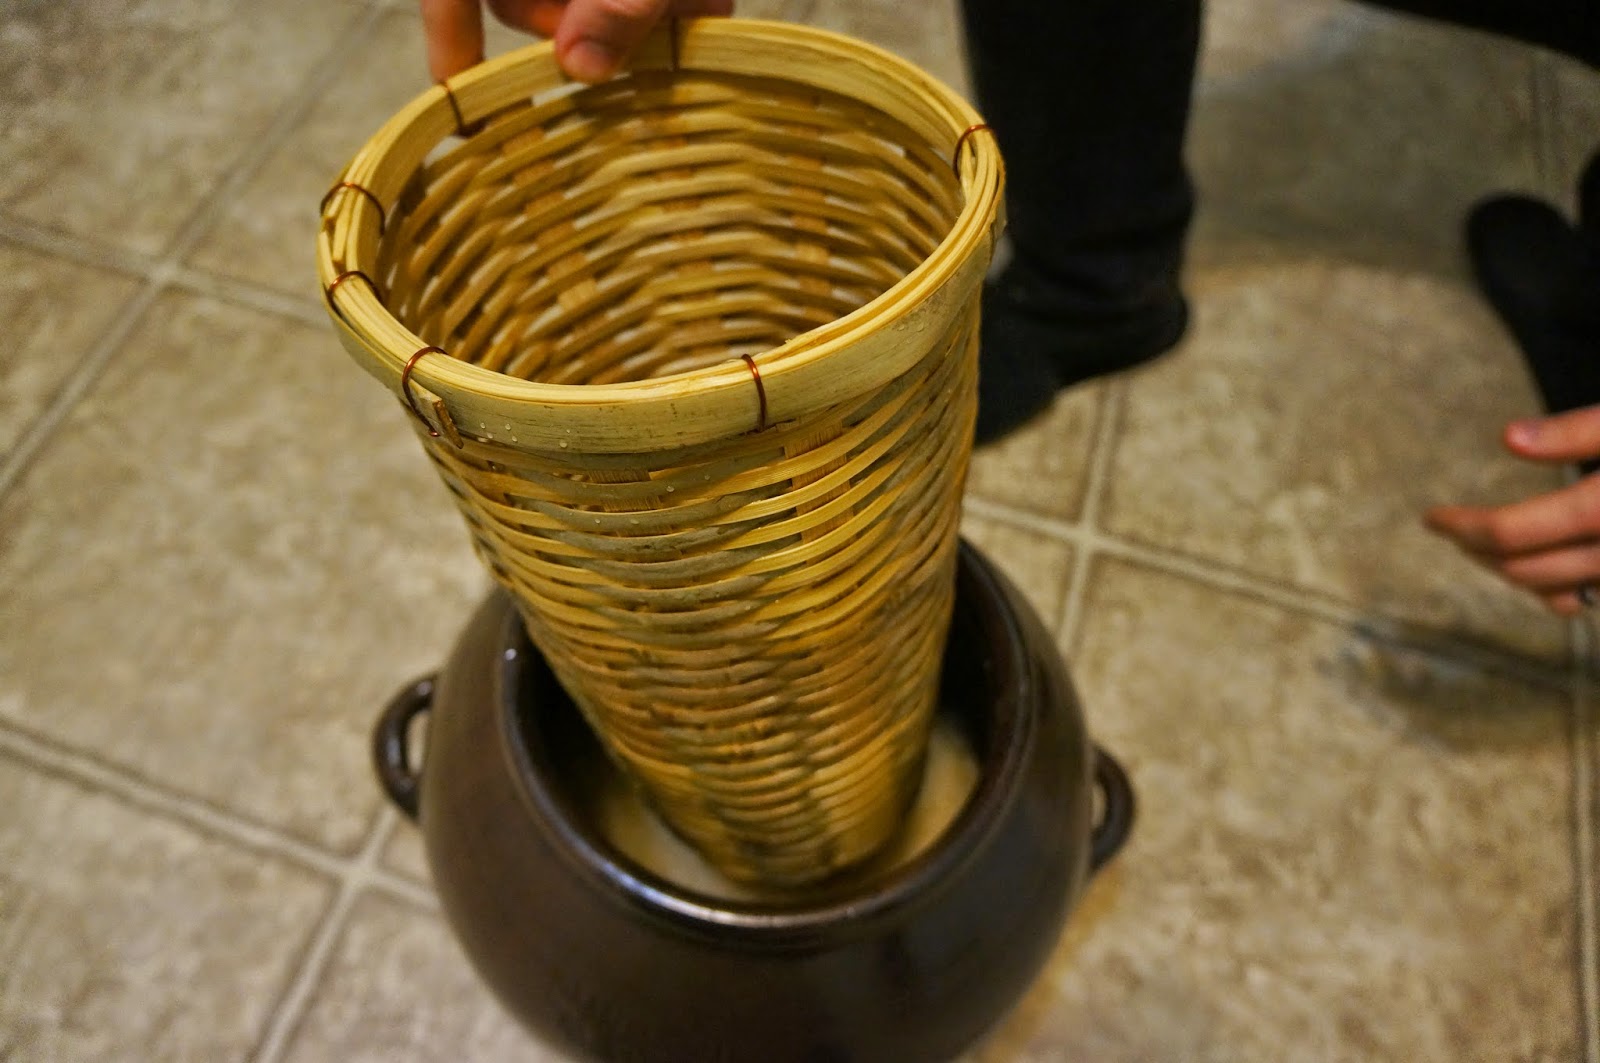
Last time I hinted at brewing for my daughter's first birthday party. That was the intention, but due to the cold weather or slow acting yeast the makgeolli wasn't ready for another week! To make it interesting I decided to try using the Yongsu (용수) for the first time. A yongsu is a woven basket shaped like a cone, with a rounded end instead of a point. The yongsu is placed directly inside a hangari to separate the rice and nuruk from the completed makgeolli or dong-dong ju.  The benefit of the yongsu is that you can scoop out the makgeolli for serving without having to pour out the entire hangari. This eliminates the need to filter in advance, which can be very convenient if you have a large jug of makgeolli. The downside of the yongsu is that any sweetening or flavor must be done separately, which introduces another step. Also, it is quite difficult to clean. To summarize, the yongsu offers the ability to serve makgeolli quickly and unaltered without much e...

50/50 White Rice/Brown Rice Makgeolli

Image
Hey, it's been a while. I've been busy with grad school courses, and we've been busy at home with holidays and preparing for my daughter's first birthday party. We are doing a few traditional Korean things, such as Dol-jabi, and having some Korean finger-foods on hand to celebrate. Naturally, I'll be making some makgeolli to go along with the food. There will be more on that in the coming weeks, but for now... Persimmon for additional autumn effect, not actually used in this makgeolli 50/50 Makgeolli  (50% White Rice/50% Brown Rice) This is a small, experimental brew in using 250 grams of white glutenous rice and 250 g of brown glutenous rice. Once diluted, it should yield about 2 liters of makgeolli, with some left over for...cooking? Preparation : Clean and/or sterilize all equipment used for cooking rice and brewing makgeolli. This is a basic good practice for all food applications, especially when you are serving other people. Another bonu...

A brew for the in-laws

Image
 My in-laws were visiting from Korea this month, and I decided to make some fresh makgeolli for them to enjoy. I also wanted to test my makgeolli on the taste buds of Koreans who are more familiar with the run-of-the mill makgeolli. Unfortunately, I was away on business most of the week, so I only have a few pictures this time. My lovely helper was at home keeping an eye on the brew while I was gone. This brew was made with the same ratio as my last post, but with different yeast. The plan was to pick up wine yeast after work, but the brew store is closed on Mondays, a fact that I didn't learn until I walked up to their door. I was in a hurry to brew and pack my things for the business trip, so I had to settle for baker's yeast, which was the only thing available at home. I also used a different nuruk this time. I used about all of the Choripdongi 초립동이 nuruk, so it was time to open the Haeoreum 해오름 and try it out. The first thing I noticed was the ...

First brew in the new hangari

Image
On Sunday I started a fresh brew in the new hangari. What's a hangari? You can find out the basics in my last post here . Ingredients I am continuing to use the following ratio, which was taken from the book Making, Drinking, and Enjoying Makgeolli.  If you are interested in the brand of rice, type of water, nuruk, etc. please leave a comment below and I'll be happy to provide more details. For sweetening, honey and brown rice syrup are used. Process The brew started by preparing the rice. The rice was washed by running water over the rice while swooshing it around in a metal colander. A pot was placed under the rice to  periodically check the color of the water running through the rice. When the water was mostly clear the rice was moved to a clean pot, which was filled with enough water to cover the rice. The uncooked rice soaked overnight. In the morning the rice was drained and steamed in a deep pot with a steamer basket. I have a cheesecloth that I use for...

New Hangari

Image
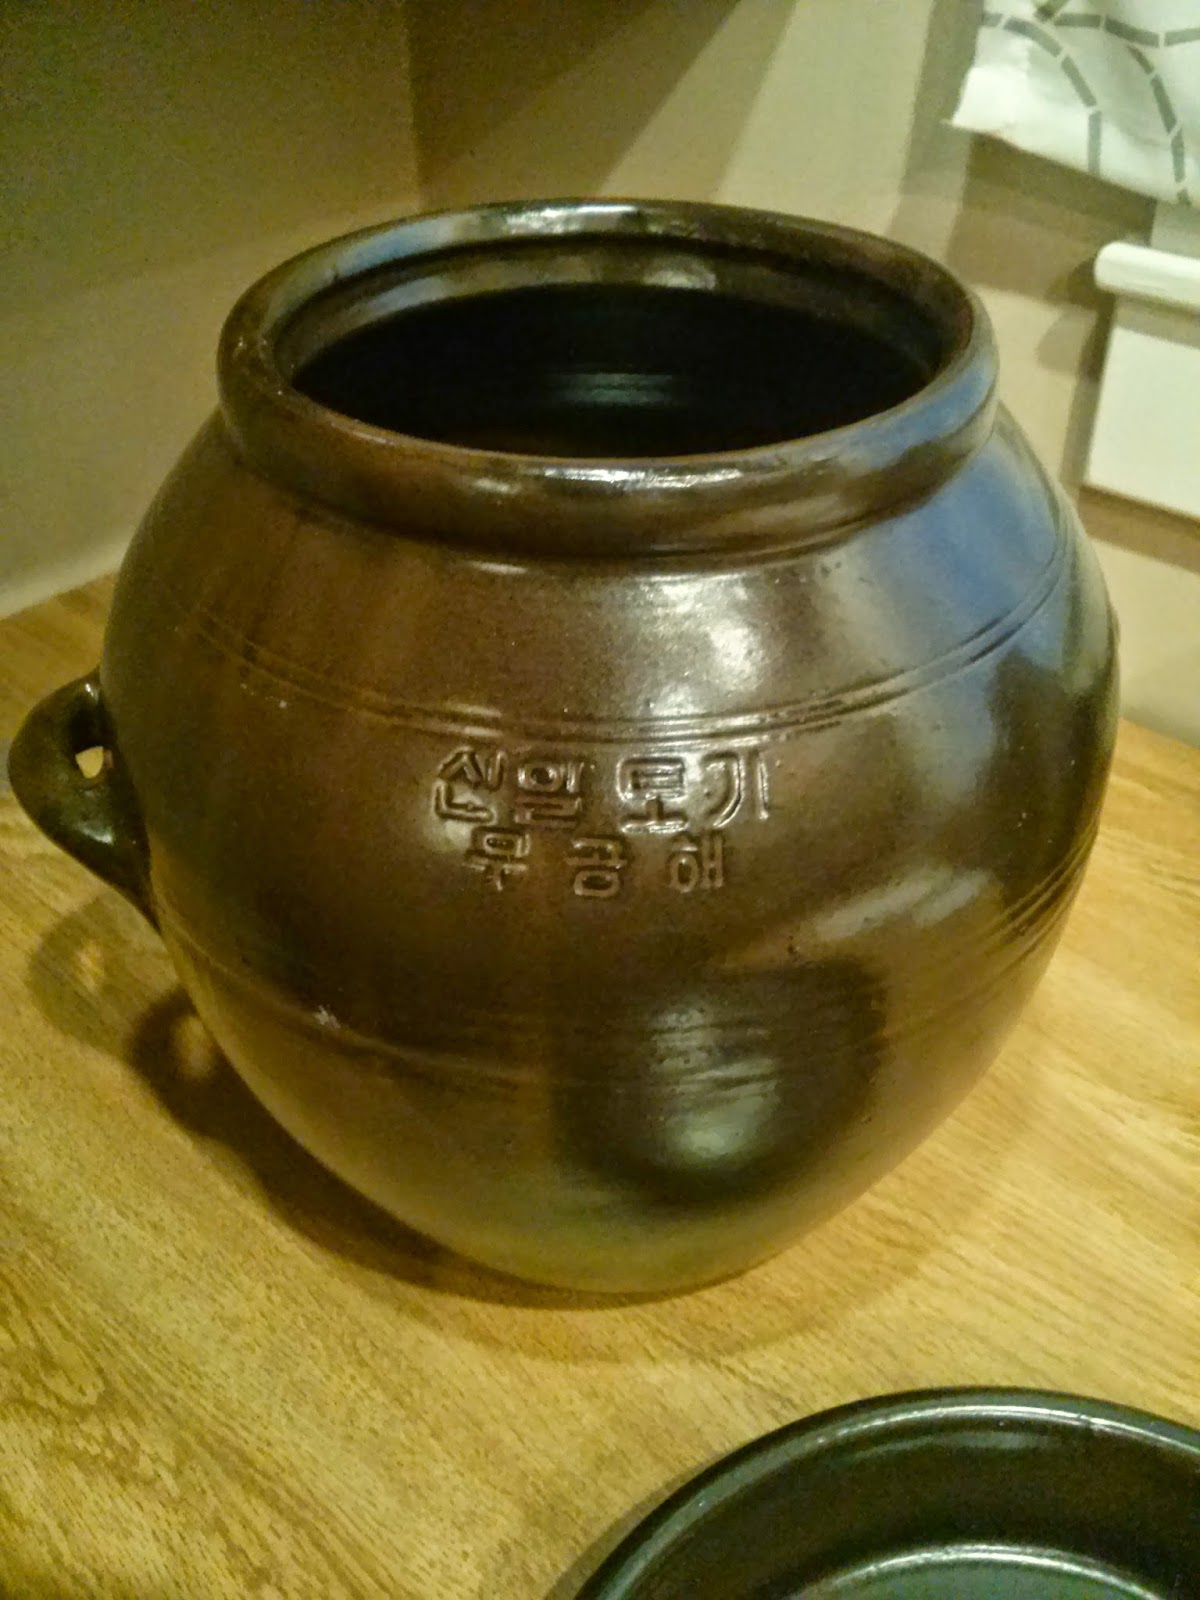
Great news! I got a new hangari! What's a hangari? (항아리) Hangari is the clay jar traditionally used to ferment all kinds of foods or beverages in Korean cuisine. These are the big brown jugs that house kimchi, rice wine, and medicinal extracts. They come in various shapes and sizes, but they are usually made with clay and have a characteristic brown glaze. They are heavy, cumbersome objects, but they represent a traditional way of brewing makgeolli that I must explore. I used a small hangari several times when brewing makgeolli in Korea. However, I've learned a lot since then and want to continue experimenting brewing using hangari. Hangari may also be called onggi. Below I'll give a quick summary of the pros and cons of using a hangari, as well as a few methods used to prepare hangari for brewing. This content was originally found in Jeontongju that You Can Easily Make at Home  by Lee SeokJun ( 전통주 집에서 쉽게 만들기, 이석준  ). It has been translated from the original text b...

Kombucha brewing follow-up

This is an update to the status of my kombucha brewing. I plan to talk about how the process went, how the kombucha turned out, and some issues that were encountered along the way. Mostly green tea was used, with one batch of a flavored black tea. The process itself was pretty simple: All the equipment was cleaned. A pot of sweet (green) tea was made and cooled to room temperature. The kombucha "mother" was transferred into the glass fermenter. The sweet tea was added to the fermenter with the mother, and the lid was placed loosely on top. I tasted the kombucha every day to check the flavor, and poured about 80% of it into a bottle when I thought it was ready. The taste was great with green tea, and there was a good amount of efervesence from the fermentation. The black tea turned out metallic-tasting, and I thought it was nasty, so I dumped that batch and considered it a failure. I attributed the off-taste to the flavoring that was already in the t...