Posts

Showing posts with the label nuruk

Brew Preview: Hibiscus Makgeolli

Image
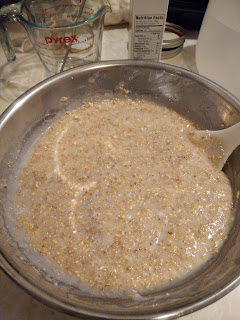
Brew Preview showcases what is currently in the works at Moon & Lion.  We are currently working on a Hibiscus Makgeolli , which adds hibiscus petals to the primary fermentation. This brew is inspired by Jeff Rubidge's Hibiscus Makgeolli . I was able to try Jeff's brew at a recent makgeolli meetup and it was fantastic. This is our take on it. The goal to infuse a bit of hibiscus flavor and aroma, and to impart some of the lovely purple hibiscus color in our makgeolli. A few notes on this makgeolli: This is a nuruk only makgeolli, which means no additional brewing yeast was used  during the process. A starter (석임) was used to activate the yeast within the nuruk. The starter typically takes 1-2 days to activate to full potency. The hibiscus used is actually a hibiscus tea, which is dried and not fresh. Using fresh hibiscus will likely require a much greater volume of hibiscus. I'm trying a new brand of rice for this brew and future brews: T amanishiki Su...

Brew Preview: Omija Makgeolli 오미자 막걸리

Image
Currently brewing is a candidate from the brew schedule. Omija makgeolli! Omija ( Schisandra chinensis) is a small red berry that is commonly used in Korean cuisine to make omijacha, or simply omija tea. Omija directly translates to "five-flavor-berry". 

Nuruk Comparison

Image
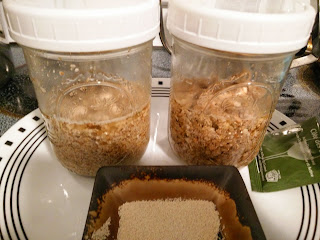
Currently brewing is a comparison between two brands of nuruk: a "market" nuruk purchased stateside and an artisan nuruk produced in Busan. Initial notes on the nuruk itself: To review, nuruk is the fermentation starter used for makgeolli and other kinds of traditional Korean beverages. It consists of fermented grains or rice and is home to a diverse set of micro-organisms. The "market" nuruk was purchased at H-Mart in the US under the brand Haeoreum. It has a pungent earthy aroma that is somewhat tangy on the nose. I would definitely describe the smell as moldy, but not foul or rank. It does not smell like decomposition. You may even describe the smell as reminiscent of a cellar or attic, but remember: no two smell alike. It definitely has an older scent than the Busan nuruk. The Busan nuruk was acquired from a friend, and I don't think it is available to purchase in the US. The aroma is a combination of earthy and woody, but neutral. There is n...

Dual Brew: Added Yeast | 100% Nuruk

Image
I haven't posted in a while, but a lot of good things have been happening. I've been doing a lot of travel for work, and talking to some wonderful people from the makgeolli brewing community in Korea. As part of those discussions the following two brews came about: An Iyangju using added yeast, and a Danyangju using nuruk only. Both brews used 100% sweet rice and a sweet rice starter. I'll explain each one below. The starter. The starter used is a bit of a trade secret (shhh), but I will tell you this. It uses rice flour, nuruk and water. That's it. Freshly made starter  Had I developed this starter on my own I'd share more specific details with you, but this was shared with me by a friend requesting confidentiality. The starter was made and let sit for 24-48 hours, depending on the progress. I added yeast to one starter and it took off and was about a day ahead of the nuruk only starter, which took about 72 hours. This was expected and be...

Instant Makgeolli? Hwajoodang Makgeolli Pack

Image
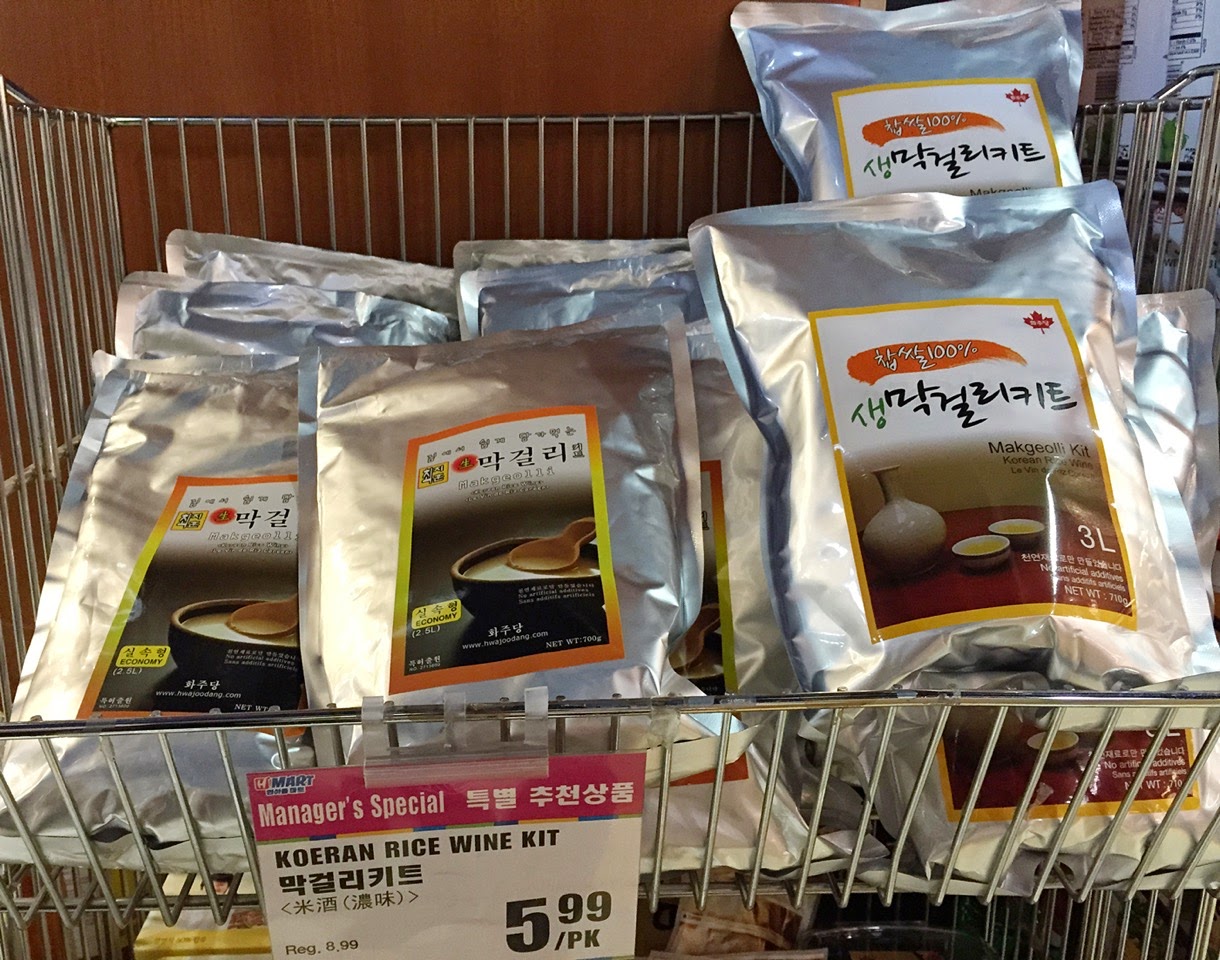
Claire from YVR has brought to my attention an interesting product from across the northern border. Hwajoodang's Makgeolli Pack ! Claire had posted previously about her makgeolli experience on her blog here . Judging from her post, she had the opportunity to try some unique, high-quality makgeolli. At the end of her post she resolves to make her own batch of home brewed makgeolli, which led her to the package pictured above, and below.  I won't steal her thunder by posting pictures of her brew in the works. Please check out her blog and watch for her makgeolli post in the near future.  On to the pack... The makgeolli pack is a prepackaged kit of all the ingredients needed to make makgeolli. The website doesn't have too much info on the product, such as ingredients or how much of each ingredient is in the pouch, but they do publish a how-to here . Thanks to Claire's contribution, we also have the above picture of the directions from the back of the pac...

A brew for the in-laws

Image
 My in-laws were visiting from Korea this month, and I decided to make some fresh makgeolli for them to enjoy. I also wanted to test my makgeolli on the taste buds of Koreans who are more familiar with the run-of-the mill makgeolli. Unfortunately, I was away on business most of the week, so I only have a few pictures this time. My lovely helper was at home keeping an eye on the brew while I was gone. This brew was made with the same ratio as my last post, but with different yeast. The plan was to pick up wine yeast after work, but the brew store is closed on Mondays, a fact that I didn't learn until I walked up to their door. I was in a hurry to brew and pack my things for the business trip, so I had to settle for baker's yeast, which was the only thing available at home. I also used a different nuruk this time. I used about all of the Choripdongi 초립동이 nuruk, so it was time to open the Haeoreum 해오름 and try it out. The first thing I noticed was the ...

First brew in the new hangari

Image
On Sunday I started a fresh brew in the new hangari. What's a hangari? You can find out the basics in my last post here . Ingredients I am continuing to use the following ratio, which was taken from the book Making, Drinking, and Enjoying Makgeolli.  If you are interested in the brand of rice, type of water, nuruk, etc. please leave a comment below and I'll be happy to provide more details. For sweetening, honey and brown rice syrup are used. Process The brew started by preparing the rice. The rice was washed by running water over the rice while swooshing it around in a metal colander. A pot was placed under the rice to  periodically check the color of the water running through the rice. When the water was mostly clear the rice was moved to a clean pot, which was filled with enough water to cover the rice. The uncooked rice soaked overnight. In the morning the rice was drained and steamed in a deep pot with a steamer basket. I have a cheesecloth that I use for...